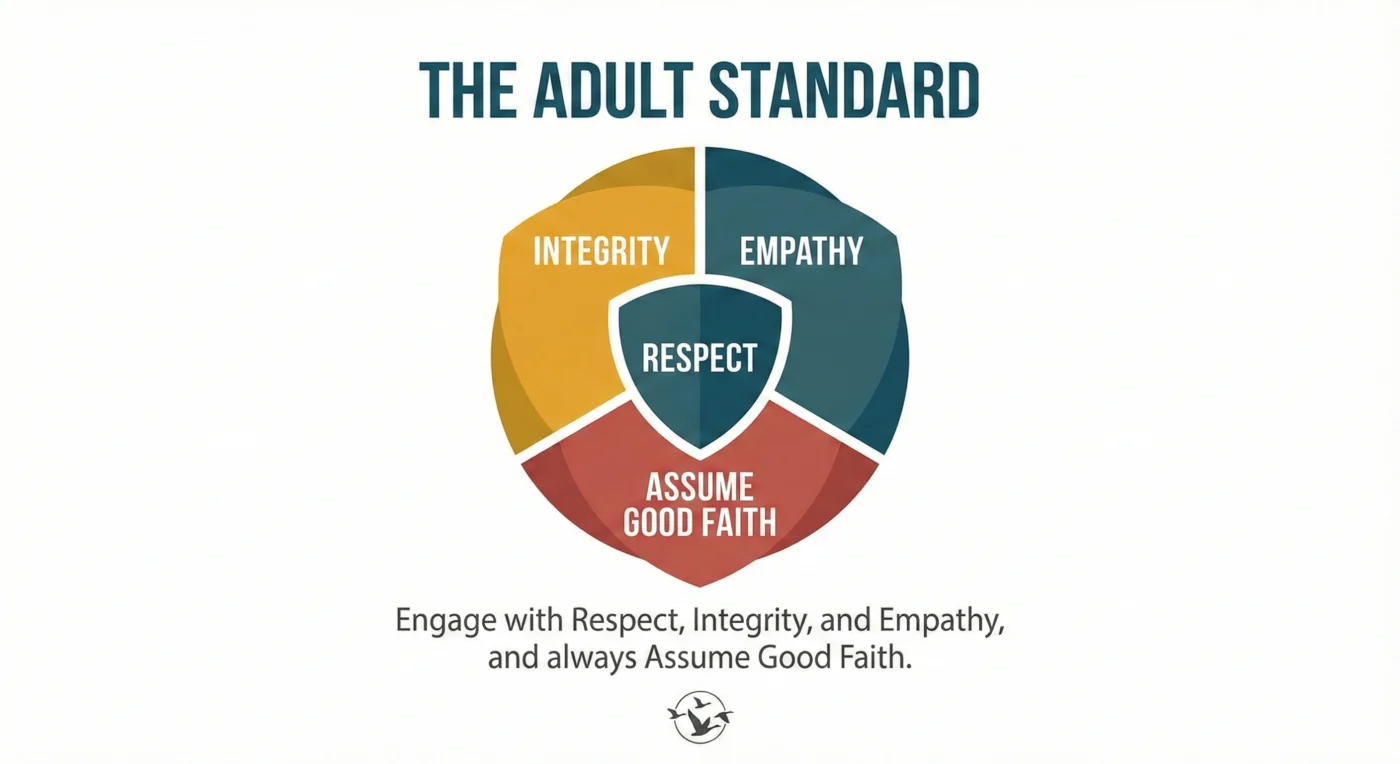
"Engage with Respect, Integrity, and Empathy, and always Assume Good Faith."
This is a community of adults (18–65+) who share a passion for nature photography.
It is not a comments section or a social media feed. We expect members to engage with the Adult Standard:
Respect: every member, regardless of experience, style, or gear.
Integrity: Be honest, own your words, and share only work you created.
Empathy: Critique the photograph, not the photographer. Be direct, but kind.
Assume Good Faith: Text lacks tone. Write as if the photographer is standing next to you.
Honest critique and kindness are not opposites here.
If you have an issue, use the Moderation section rather than escalating publicly.
If you can’t adhere to the Adult Standard, this isn’t the Community for you.
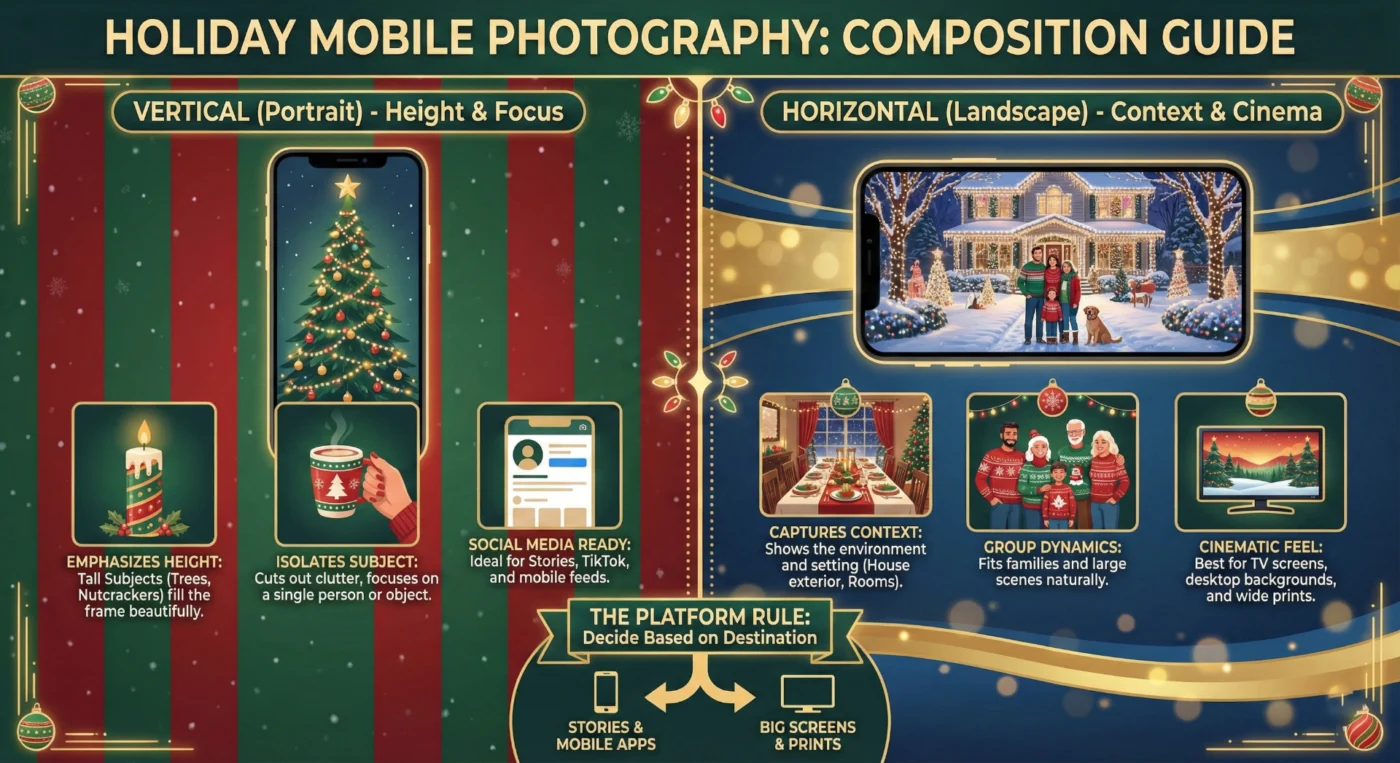
Deciding between holding your phone upright (vertical/portrait) or sideways (horizontal/landscape) is the first compositional decision you make, and it completely changes the story your photo tells.
Because of social media, Vertical has become the dominant format, but Horizontal still reigns supreme for cinematic storytelling. Here is how to choose the right frame for your holiday shots.
1. The Case for Vertical (Portrait Orientation)
Best for: Social Media, Mobile Viewing, Height, Isolation
Since we hold phones vertically 90% of the time, this feels the most natural for mobile photography.
-
Emphasising Height: Vertical is essential for tall, narrow subjects.
- Holiday Example: The Christmas Tree. A vertical shot captures the star at the top and the skirt at the bottom without wasted space on the sides.
-
Isolating the Subject: Vertical frames crop out peripheral "clutter," forcing the viewer's eye to focus strictly on the subject.
- Holiday Example: A portrait of a child holding a single gift. By cutting out the messy living room on the sides, the focus remains entirely on their expression.
-
Leading Lines: Use vertical orientation to capture paths or roads that lead the eye "up" into the image.
- Holiday Example: A long hallway decorated with garlands, or a snowy path leading to a front door.
2. The Case for Horizontal (Landscape Orientation)
Best for: Context, Groups, TV/Desktop Viewing, "Cinematic" Feel
Horizontal mimics human vision (we see the world horizontally, not vertically). It creates a sense of place.
-
Capturing Context: If the environment is just as important as the subject, turn the phone sideways.
- Holiday Example: The exterior of a house covered in lights. You need the width to see the snowy yard, the fence, and the neighbours' lights to set the scene.
-
Group Dynamics: Trying to squeeze a family of five into a vertical frame usually means standing way back (which makes them look small) or awkwardly stacking heads. Horizontal allows the group to spread out naturally.
-
The Dinner Table: A long dining table full of food is a naturally horizontal subject. A vertical shot would mostly capture the empty ceiling and the floor.
3. The "Platform Rule"
If you are torn, decide based on where the photo will live:
Destination Preferred Orientation Why? Instagram Stories / TikTok Vertical (9:16) It fills the entire phone screen, offering an immersive experience. Instagram Grid (Post) Vertical (4:5) It takes up more "screen real estate" in the feed than a square or landscape photo, slowing the scroll. Digital Photo Frame Horizontal Most digital frames sit horizontally on mantels; vertical photos will have black bars on the sides. Printed Holiday Card Either Check your card design first! Many templates favour horizontal family shots. TV Slideshow Horizontal Vertical photos on a wide-screen TV look tiny, leaving 70% of the screen black.4. Advanced Composition Tips
-
The "Pano" Trick for Vertical:
Everyone uses Panorama mode horizontally, but try using it vertically.
- How: Turn your phone sideways (landscape), tap Panorama, and pan from the floor up to the ceiling.
- Result: You can capture a massive cathedral ceiling or an incredibly tall tree that wouldn't fit in a standard shot.
-
The Crop Factor:
If you are unsure, shoot horizontally with a wide angle. You can always crop a vertical image out of a high-resolution horizontal one (provided you leave space around the subject). You cannot, however, add width to a vertical photo later.
Summary: Holiday Cheat Sheet
- Shooting the Tree? $\rightarrow$ Vertical
- Shooting the Feast? $\rightarrow$ Horizontal
- Shooting the Kids? $\rightarrow$ Vertical (Get on their level)
- Shooting the Family Group? $\rightarrow$ Horizontal
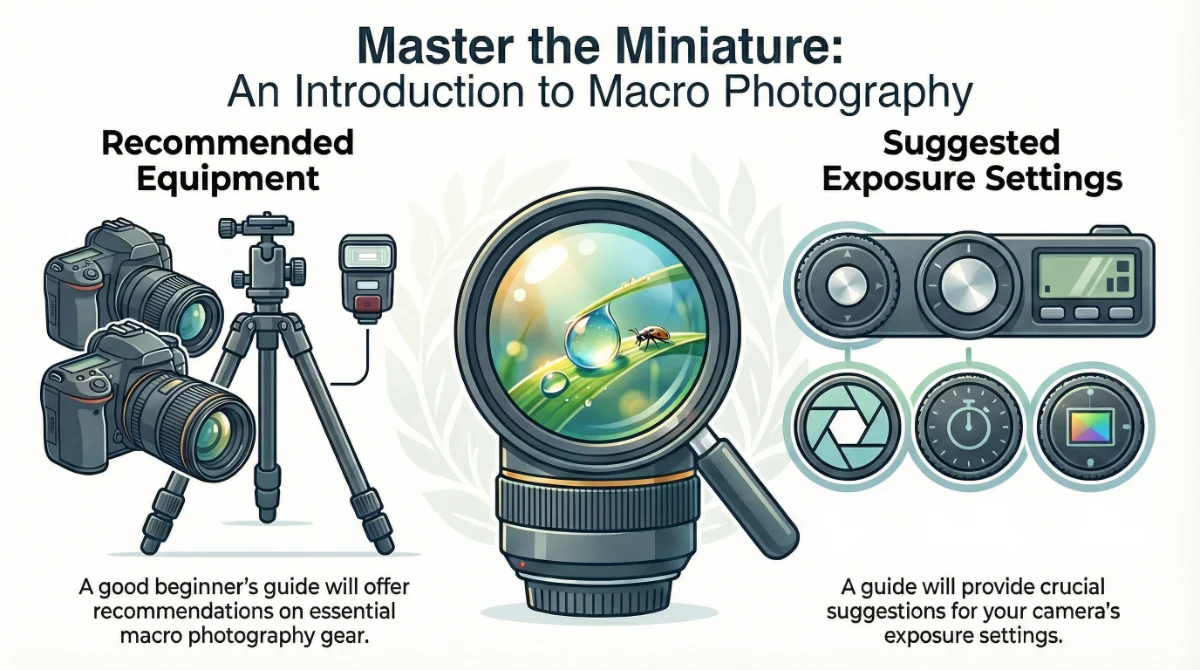
Have you ever looked at the morning dew on a leaf or the intricate patterns on an insect's wing and wished you could capture that hidden world? Macro photography is the art of making the small look monumental. It’s about more than just getting "close"—it’s about revealing textures and details that are invisible to the naked eye.
As a teaser for our upcoming Mastering the Micro course, here are the three fundamental pillars you need to understand to start your journey.
1. Understanding Magnification and Ratio
In macro photography, we talk about magnification ratios. A "true" macro lens offers a 1:1 ratio.
- 1:1 Ratio: This means the subject is rendered at life-size on your camera's sensor. If you photograph a 1cm ant, it takes up exactly 1cm of space on the sensor.
- Greater than 1:1: This is "extreme macro," where the subject appears larger than life-size (e.g., 2:1 or 5:1).
2. The Challenge of Depth of Field
When you get very close to a subject, your Depth of Field (DoF)—the area of the image that is in sharp focus—becomes incredibly thin, sometimes just a fraction of a millimetre.
- The Trade-off: To get more of the subject in focus, you’ll need a narrower aperture (higher f-stop, like f/11 or f/16).
- The Diffraction Limit: If you stop down too far (like f/22), you might actually lose sharpness due to light diffraction.
- The Pro Tip: Professional macro photographers often use a technique called Focus Stacking, taking multiple photos at different focus points and merging them later.
3. Light is Your Best Friend (and Biggest Enemy)
Because you are often inches away from your subject, your camera and lens can easily block the natural light, casting a shadow over your tiny stage.
- Diffuse the Light: Harsh sunlight creates "hot spots" on shiny insects or wet leaves. Using a small diffuser or even a white piece of paper can soften those shadows.
- Artificial Help: Many macro photographers use Ring Flashes or Twin Lites that attach to the front of the lens to ensure the subject is illuminated evenly from the front.
What’s Coming in the Full Course?
This is just the surface of the "tiny" iceberg. In our upcoming full course, we will dive deep into:
- Equipment on a Budget: Using extension tubes and reverse rings.
- Composition: How to lead the eye in a frame that's only an inch wide.
- Field Ethics: How to photograph insects and plants without harming the ecosystem.
- Post-Processing: Mastering the focus stack in post-processing software.
"Macro photography proves that you don't need to travel the world to find epic landscapes; sometimes, they are right in your backyard."